During the research and development stages of the WHITETAIL DESIGNER SYSTEMS product line, considerable attention was paid to the ears of whitetail deer. The end result was more tricks to be added to the taxidermist’s bag of tricks.
The intent was to produce a finished skin that would work well in conjunction with the various mass produced plastic ear liners, and allow for a more lifelike finished ear.
Not all deer ears are going to work with these finishing techniques. Some areas of the country, and even individual deer within an area will have so much hair and black pigment inside their ear that you would be wasting your time to even attempt to do anything with these individuals.
LET'S TAKE A CLOSE LOOK AT DEER EARS,
A REAL CLOSE LOOK.
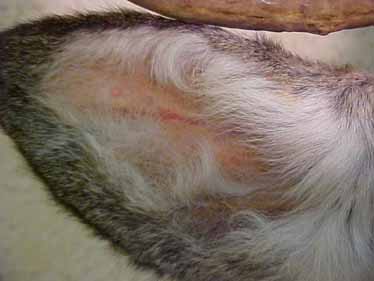
This ear is an example of the described extreme. The cape was a purchased cape and was out of Montana. The top 2 ½ inches of the ear edge was ripped and the bottom edge was ripped more than 4 inches. That wasn’t all! The backside of the ear was ripped in a Y tear that covered a good part of the backside of the ear.
The small SN-3 needle from McKenzie was used with invisible thread to make the repair. Skin was glued to the liner with Polytranspar Fin Cream.
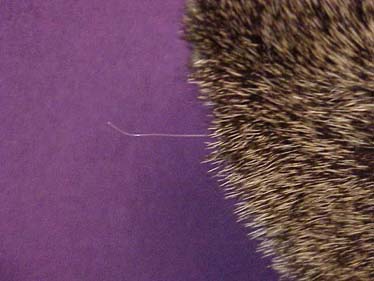
Back view of the same ear after repair. The tag end of invisible thread was brought back out for illustration purposes.
It should probably be pointed out that there was nothing done to finish the inner ear skin in the first photo.
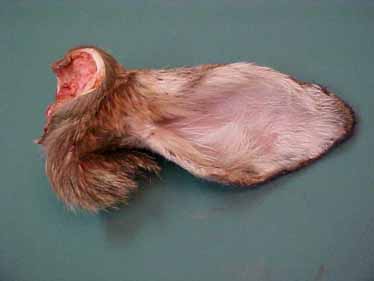
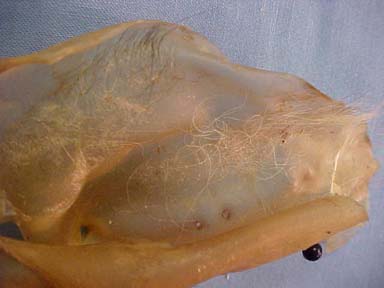
This severed ear is one of several collected from a processing plant during the 2000 season. This series of photos was taken in May 2001. The ear was pulled out of the freezer in April for dissection. Once it had thawed out, it was most obvious this ear was the extreme opposite of the preceding ear. It was then placed back in the freezer.
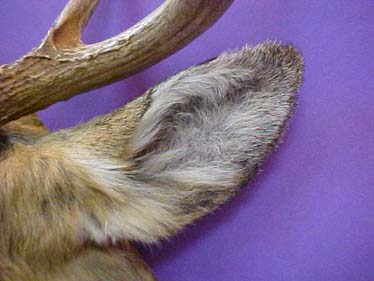
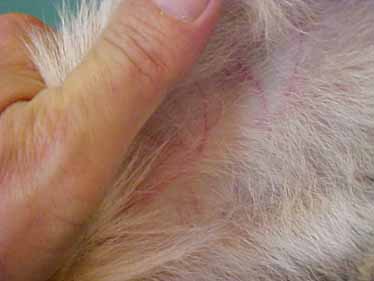
Now we are going to zoom in on this ear, just right above the V of the ear.
We are now moving the view up toward the middle of the ear.
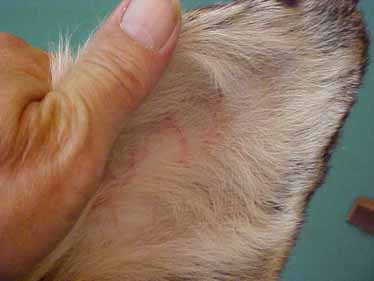
Our view is now obviously out almost to the tip.
Now, check out this view really close.
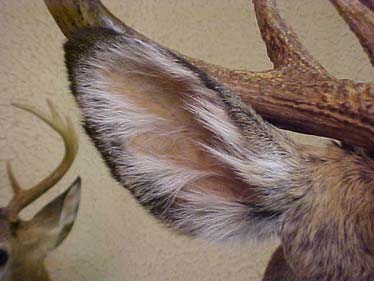
Now, we'll back off with the camera lens.
Feel tricked? Good. I told you we added tricks to the bag!
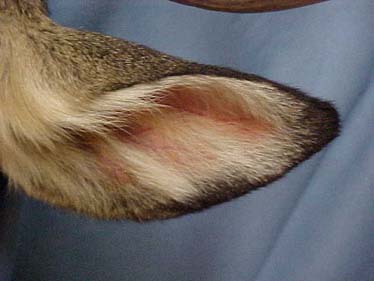
The last two photos were pictures of a mount’s ear. The preceding four were from the dissection specimen.
Now bear in mind we will have lost some of our color values due to lighting for the photography, compression of photos for transmission and “interpretation” of individual computer models and Internet providers. But, the point should be well illustrated.
The last illustrations will be demonstrated in the “Pop Art Ears” section.
Let’s take things a step further.
The pictures of the severed ear showed blood veins intact with retained blood. What was absent was the “fleshy, pinkish” color that would normally surround the veins as blood engorged capillaries. The “peachy-pinky” color toward the ear tip was also absent.
Now, check out these next two photos.
The ears on the last two mounts were done with slightly different techniques, but utilizing the same principles. To pull these kinds of tricks off, you start with preparing the ear.
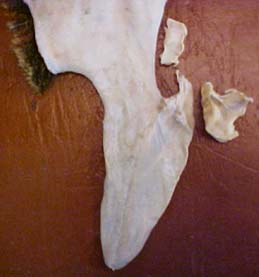
Here’s a piece of dried ear cartilage. You can see the amount of hair that pulled from the ear. Sometimes it is more. Sometimes it is less.
Now listen up, boys! We don’t have to put up with that no more! We can take the deer by the ear and take control!
Using WTDS Green Skin Rehydrator as directed will help tremendously in the initial opening and turning of the ear, and greatly diminish the odds of doing damage.
(NOTE: STOP-ROT yields the same performance end results as Green Skin Rehydrator, PLUS it is more convenient and economically practical, not even counting the versatility of STOP-ROT. As a result, Green Skin Rehydrator has been discontinued from inventory.)
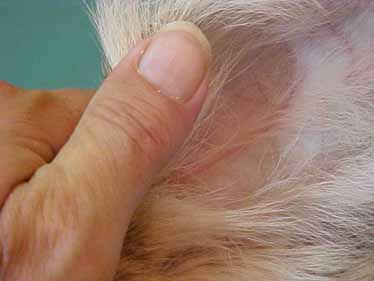
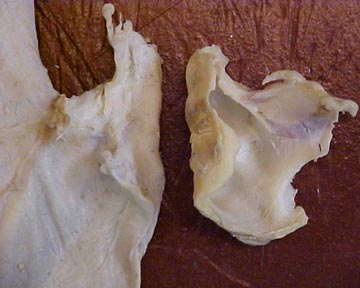
Remember that the first finished ear you looked at awhile ago and thought you were still looking at a dissection specimen? Well, this is one of his inverted ears prior to mounting.
We’ve zoomed in now for that famous closer look.
That is what would be called the backside of the inner ear detail in taxidermy language. For those that are biologically inclined and wish the proper nomenclature, it is the auriclar cartilage structure. Try that description on your friends and neighbors, and no one will know what you mean. The neighbors might even move.
We’re “in Rome” now, so it remains inner ear detail.
Regardless, you can see the inner ear skin has been removed around the folds and convulsions and even down the length of the auditory canal.
Impressed? If you’re thinking that’s hard to do, you’re thinking wrong. Driving a nail is hard to do without the right tool!
Let’s get back into that bag of new tricks.
The whole cape had been run through the WTDS Leatherizing Acid, FAT·B·GONE, Shrink-Tonic and Cam-L-C with the ears inverted and the cartilage left intact. The cartilage was then wetted down with Hard Tissue Tonic , and that was allowed to work until the cartilage softened. The cartilage was scored with a scalpel blade, broken on the score marks and then removed with fingernails, thumbnails and finger pressure. You might well want to use needle nose pliers for your grip as the Hard Tissue Tonic will temporarily soften human fingernails! Remember, you guys have to wear gloves and goggles!
WTDS Soft Tissue Rehydrator was then applied, allowed to work twenty minutes and then patted almost dry with paper towels. The ears were then ready for ear liner insertion.
The above procedure is what produces that stretchy, supple ear skin that will dry just darn near clear. A must for that live ear look.