This method of nose preparation can be done in a realistic amount of time, it is economically feasible, and most importantly, delights customers with the end result.
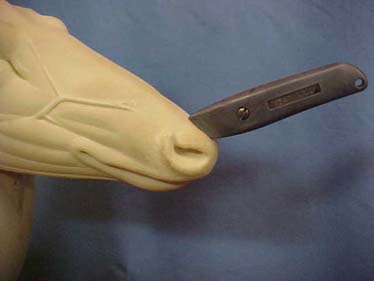
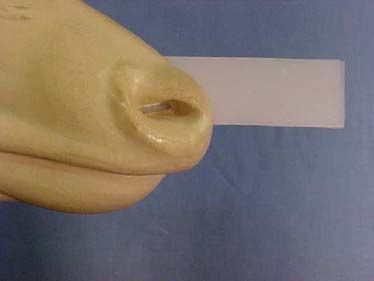
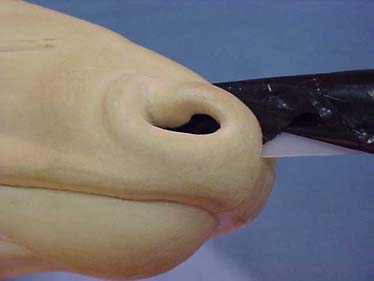
Start a slit in the top center of the nose with a utility knife. Make a slit wide enough to accept two back-to-back strips of plastic milk jug.
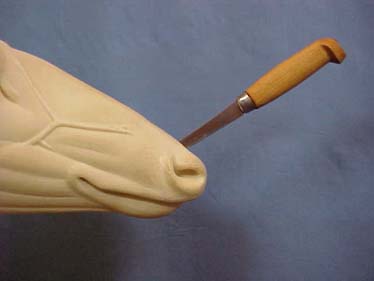
After going through the hard surface of the foam, the soft foam can be worked out with a 4” rapala fillet knife. Cut down below the nostril opening, and back towards the sinus cavity. The slit will be about the same width and length as the cartilage structure of the actual septum.
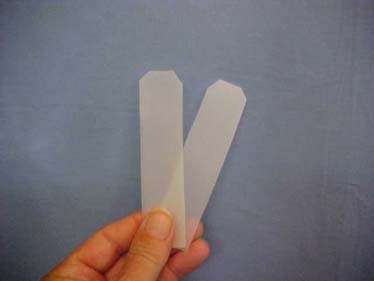
Cut two strips from a milk jug. Cut 1” (one inch) wide and at least 4” (four inches) long.
The Brad Eppley replacement nose will be used as the reference for the detail work. The mannikin being used is Buckeye Mannikin 1742. The nose on this line is already pretty close right out of the mould.
Punch a hole all the way through the foam septum area, and then place the plastic strips in the slit. The strips will now serve as a stop and help you to maintain symmetry.
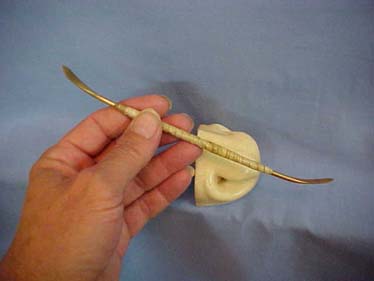
The brass sculpting/modeling tool shown was made to fit the contours of the replacement nose.
One end fits the gland pocket contours.
The other end fits and cuts the rest of the inner nose shapes.
We will provide a “How-To” article on making you own sculpting tools at a later date.
In the meantime, you can buy a set of Riffler Files (stock item description-3mm x 180mm x10pc) through Jonas Brothers that will also closely fit the contours. The price tag on the Riffler Files is low enough that you can’t afford to be without them!
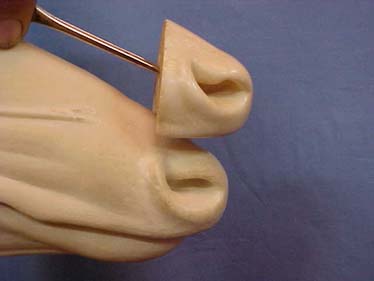
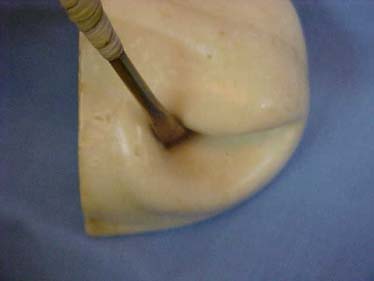
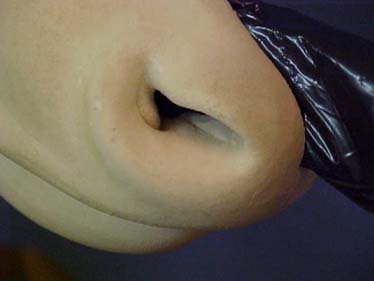
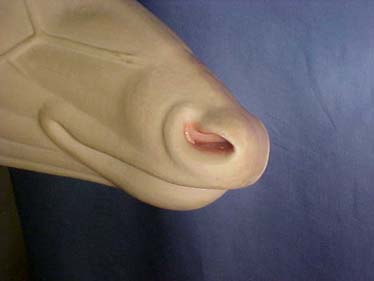
Note the shape of the underside of the nostril wing.
The gland pocket is shown, as is the “floor” of the nose, note the flow and union of the contours and angles.
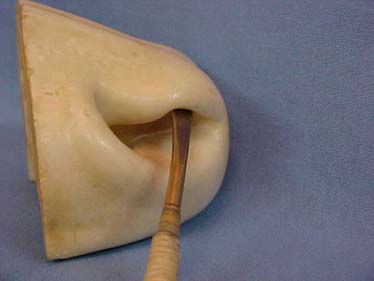
Profile displays the shape that will create the union with the septum wall.
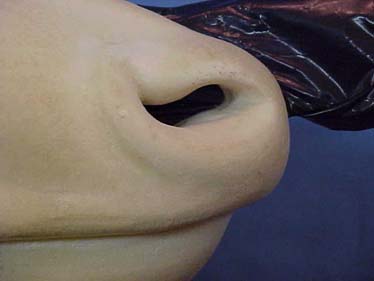
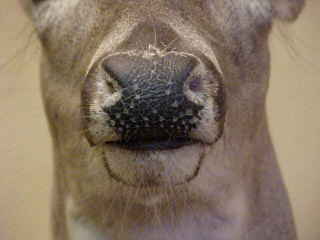
This photo demonstrates the weakness of using this technique in regards to suitability for competition. The contour of the septum in a live deer is slightly concave. This septum is not.
The flow of the nostril floor into the septum is a gradual concave curl. This “breaks off” as intersecting angles, which every company that you buy your Speed Septums from will have available a Speed Septum Tool that was designed with the intent of reproducing the concave contour.
Fill the slit level with the foam using a 2-part epoxy. Be sure the fill work is smooth and the edges are “feathered out” to the max. Any roughness or unevenness will come through a properly prepared nose skin.
A single coat of Life Tone HYDRO-MIST FLESH PAINT was applied heavily with a brush.
The Speed Septums were installed and trimmed down below the foam. Slit was filled.
A coat of artificial Deer Snot was applied over all the flesh colored areas. Just checking to see if you were still paying attention. It was really POLYTRANPAR FIN CREAM.
Don’t forget! If you don’t like this technique, you can use the replacement nose!
After going through the time and trouble of making a believable nose, a wrinkled nose skin or nostril skin has a way of causing a feller to get more than just a little upset. Wet the flesh side of the nosepad and nostril skin down with Soft Tissue Rehydrator (STR) 20-30 minutes before positioning the nose. The skin will be much more responsive to positioning.
To Order: Telephone Toll Free in U.S.A. 1-866-849-9198
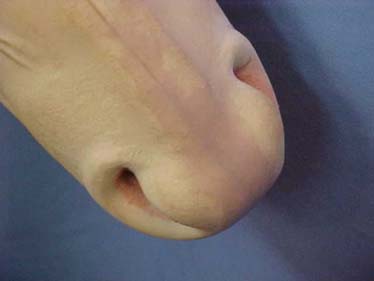
The nose on this mount was photographed several months after the mount was completed. Well, actually the mount was never completed. The nose was never painted, sealed, clear-coated or otherwise enhanced. It was simply mounted and dried. This is typical of results with Whitetail Designer Systems products. This kind of end results requires absolutely minimal finish work to keep a believable effect.
The animated thumb nails were made from photos from the following whitetail deer reference disks: